Creating your Ecommerce Store Front

Before creating your store front, be sure to have imported your products, set up fulfillment, and created packing strategies.
To create your eCommerce store front, go to the Ecommerce section of Vincipia.
Settings
You will need to edit your settings to get your store front ready. Do this by clicking edit.
Please add all information for your business, including your phone number, to this section.
Once you save this, you will see your unique store web URL at the bottom of this settings section.
Links
The Links section is the headers that go across the top of your website. To create these links, select Links>Edit>Add Link. You can create as many links as you would like to mimic the homepage of your website.
Site Categories
Site Categories are ways your customers can filter their merchandise selections. To create these, select Create Category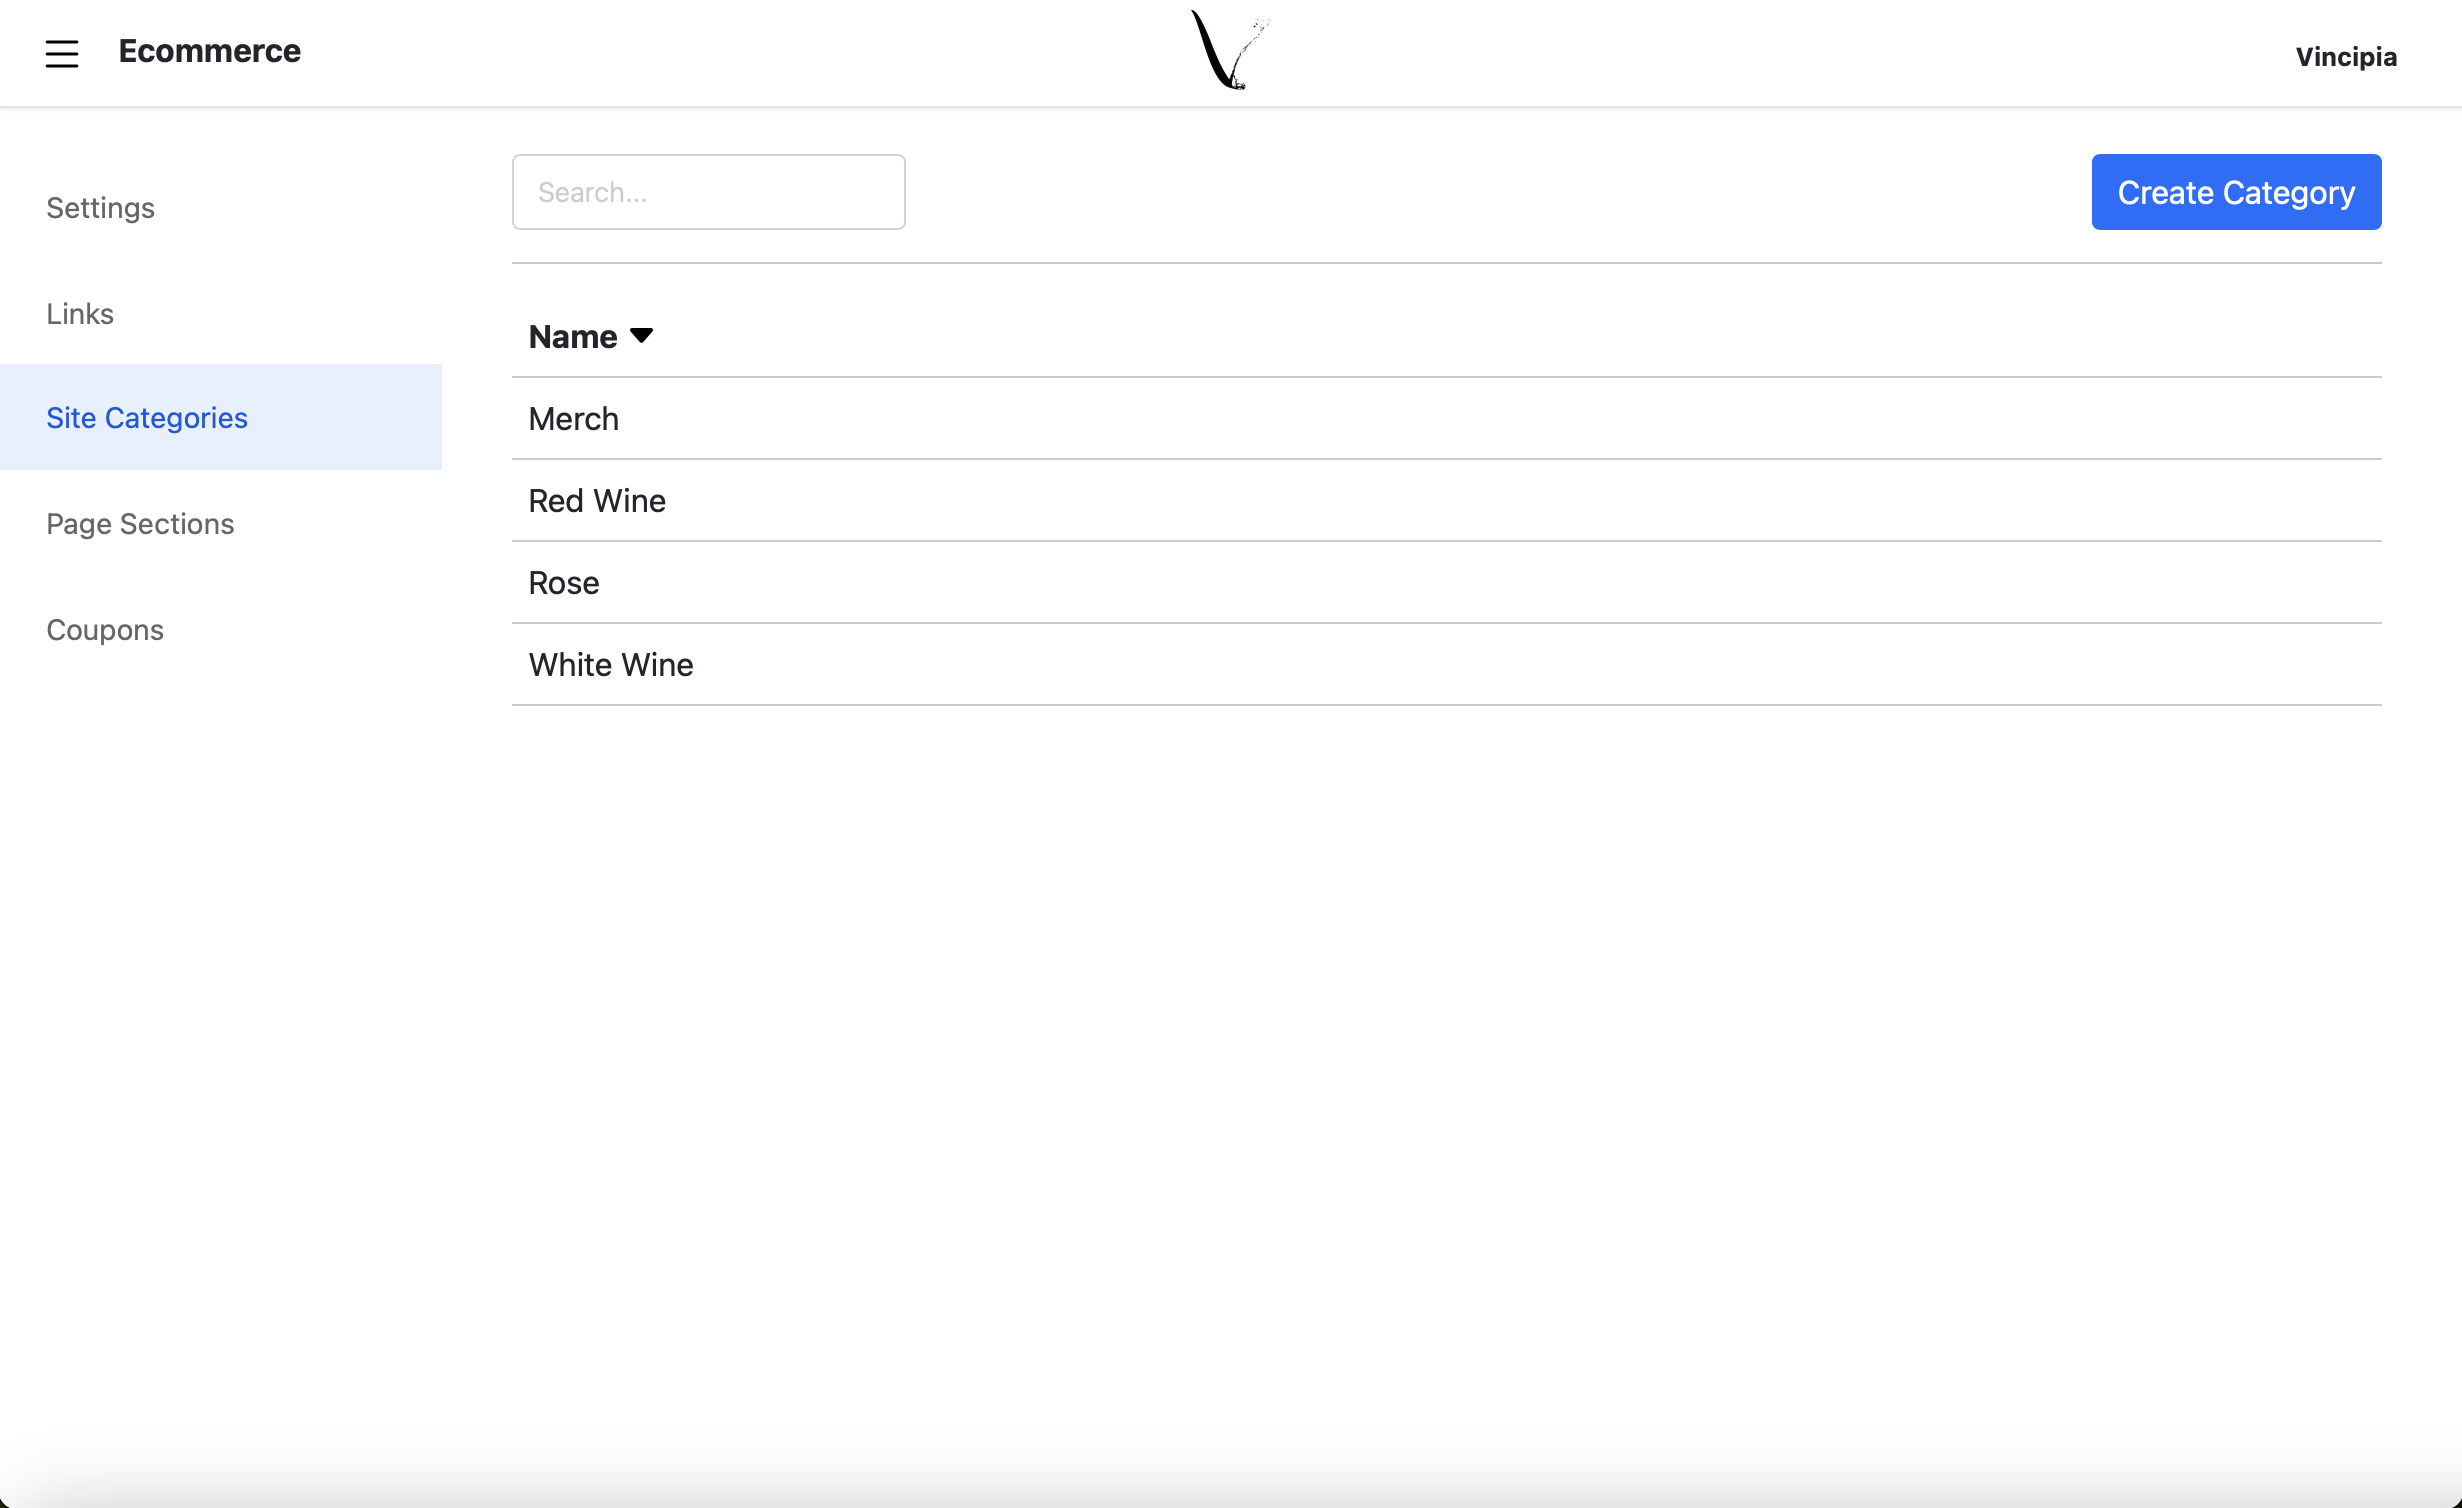
Create the Category Name and then Add Products
To add products to a category you have already created, click the category and select edit in the top right corner.
From here you will be able to click "add items" to add products to the category.
Page Sections
Page sections will allow you to customize the colors of your website. Select edit to access this section.
Press Save Changes when you are done.

In order to view your website you must have at least one product turned on for eCommerce under the Products category. To do that follow these instructions. All product images are pulled from what you have uploaded in Square.
Once you have completed all of these steps, your eCommerce store front will be ready to use under the link provided in your eCommerce settings.
Related Articles
How do I track my eCommerce orders?
All orders can now be tracked under the eCommerce tab under Orders in Vincipia. This Orders section communicates with Square allowing you to manage all Vincipia orders within the Vincipia system. You can change the processing status both in Vincipia ...Orders
All orders are viewable through the Orders tab in Vincipia. You will see your orders separated by Club and eCommerce. We keep all orders within the Vincipia system allowing you to search through all orders placed through our system. You are also able ...Creating Vincipia packaging options
Packaging options are required for eCommerce and custom clubs. The Vincipia system uses AI to know which package to place the cart items into. To set up the packaging: Go to Fulfillment. Select Packaging. Select Create Packaging Strategy Complete the ...Creating a new Member
Members can be added automatically via Vincipia’s online signup pages, and by leveraging the Square Groups integration (see Convert a customer into club member and Creating a new club for more). You can also add a Club Member manually, if needed, and ...Creating a Club
You can create an unlimited number of clubs depending on how you want to organize and run your club. To create a new club go to Clubs >Create Club Fill out the following fields to create your club: Name - This can be whatever name you want to use to ...